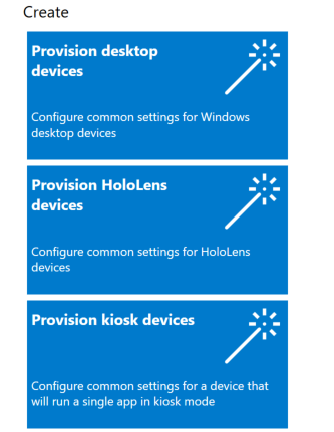
Windows Configuration Designer

Windows Configuration Designer is used to create deployment packages which can be used to quickly apply settings, install software, and configure a windows endpoint. When an endpoint is at the OOBE (Out of box experience) after being reloaded, or fresh out of the box from the manufacturer, you can launch a provisioning package by simply copying the PKG file to the root of a thumb drive and inserting it into the endpoint.
To create PKG files, Windows Configuration Designer will need to be installed on a technician’s workstation. This software creates the provisioning packages (PKG files) that will be used to automate some of the Phase1 items of a workstation deployment, as well as kicking off the additional phases.
** You should store the PKG files in a location that is accessible to other technicians that will be performing workstation deployments. We recomend storing them in your documentation system.
** PKG files can also join endpoints to Local AD and Azure AD. We do not recommend using them to join local AD as you would have to hard code account passwords which could be retrieved from the package. Joining local AD is trivial using RMM automation. It is a viable way to join Azure AD though. The only restriction is that the engineer who creates the PKG file will need to know the credentials of an account with global admin permissions. Additionally the token added to the PKG file lasts by default only 90 days, causing you to have to re-create the PKG file before a workstation setup job.
Quickly install Windows Configuration Designer using Winget. At an elevated command prompt, use the command winget install “windows configuration designer”
Installing RMM agent from PKG file
This took a bit of tinkering. I was unable to get DattoRMM installed using the wizard, and found that certain versions of Windows 10 and 11 would intermittently fail when attempting to install the agent from the PKG file. The solution below creates a BAT file which tries to install the DattoRMM agent three different ways, and also copies the installer to the root of the C drive incase you have to manually install it. Follow the instructions below to use the Advanced page to configure the PKG file for installing RMM.
To increase the chances of a successful installation, I have the PKG make 3 attempts to install the RMM agent. To accomplish this I use a BAT file which will attempt to install the RMM agent directly, it will then use PSEXEC to attempt to install the RMM agent as the system account, and then it will try to have PSEXEC launch Powershell as System and try one last time.
Download PSEXEC from sysinternals PsExec – Sysinternals | Microsoft Learn
Download sample BAT and PS1 scripts from qlabs.dev
